Next, we're going to create a simple node expander. This is a common UI element. it is used to keep segmented pages that get overly long trim and neat. They are commonly used in FAQ pages and complex reports. They are the beginnings of building an accordion page.
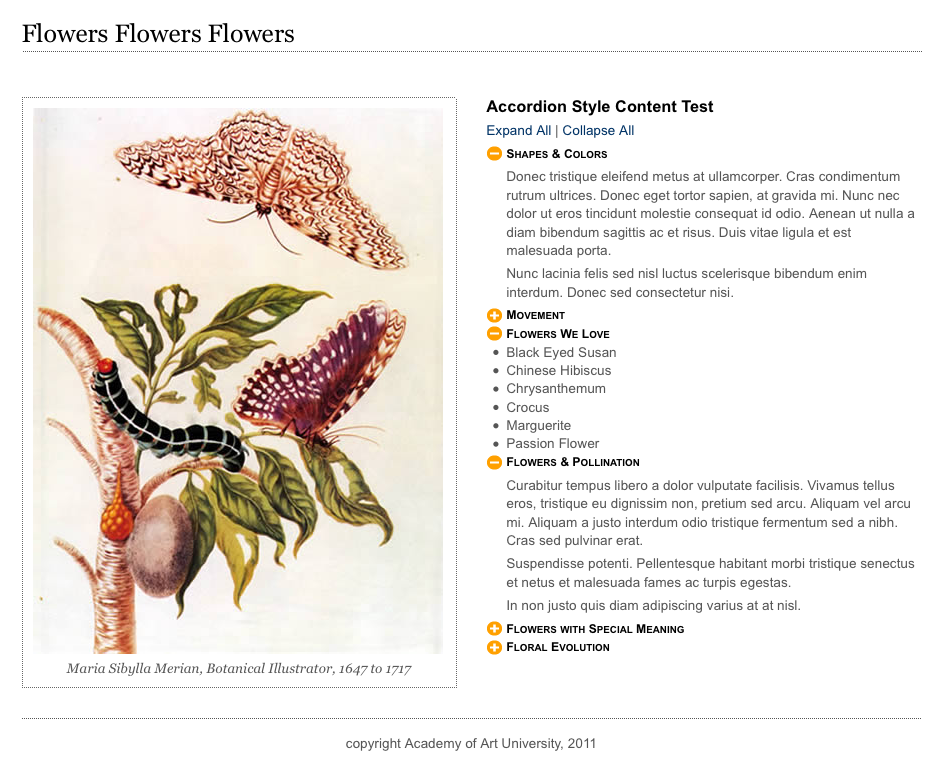
Here is the demonstration page with three of the nodes expanded and the rest closed:
Quite honestly, this is one of those UI elements that is harder to describe than do. For our demonstration we've used a two column layout. In the left column is a lovely image.
In the right hand column is our content, organized into an unordered list. Each list item has head tag (an h3) with a toggle icon. There are two icons for the toggle, a plus and a minus:
![]()
![]()
Nested inside each list item, below the h3, is a div with the node content. The div has the class "desc" for "description".
Copy the template page and rename it "m12_expander.html". In the head of your document add a script tag to pull in the jQuery library like this:
To the body tag add a div with the id "container" to hold the page together.
Nested inside the container div you need a:
Inside the content div you will need a left and a right column. It makes sense to make the columns as section tags. Give the first section tag the id "left". Nest inside it a figure tag with a figcaption tag.
Give the second section tag the id "right". Inside of right nest a title wrapped in an h2 tag.
Below it add a paragraph. Add two links: "Expand All" and "Collapse All". They are going to do exactly what they say they do. The text is wrapped in a tags, with the href attribute set to "#" as a place holder. Give "Expand All" the id "expall" and "Collapse All" the id "colall", like this:
<a href="#" id="expall">Expand All</a> | <a href="#" id="colall">Collapse All</a>
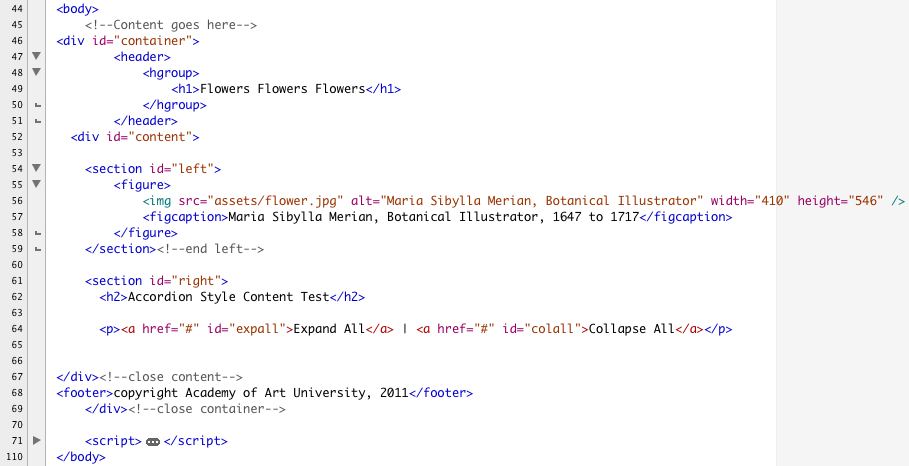
Here is the HTML so far:
Below the "Expand All" and "Collapse All" paragraph, begin the ul that will contain all the nodes. Give the ul tag the class "expando". Notice we're using a class here. This allows you to make more than one collapsing list on a page if you like.
You can add as many list items as you like. The demonstration file uses six. Inside the li tag add a toggle icon. Since all the nodes start out open, add the minus toggle for collapsing. Give all the toggle icons the class "toggleicon".
Add an h3 tag as the title for the node.
Below the h3, open and close a div. Give it the class "desc". Inside this div you put any kind of content that pleases you. it could paragraphs, images, divs, lists, etc.
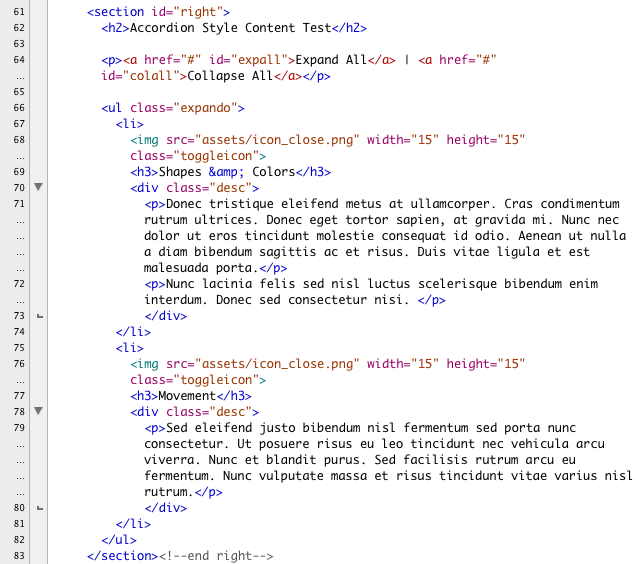
Here are the first two nodes complete:
The page is attached to the basci.css file in the css folder already. We just need to add a little more styling to create our two column layout.
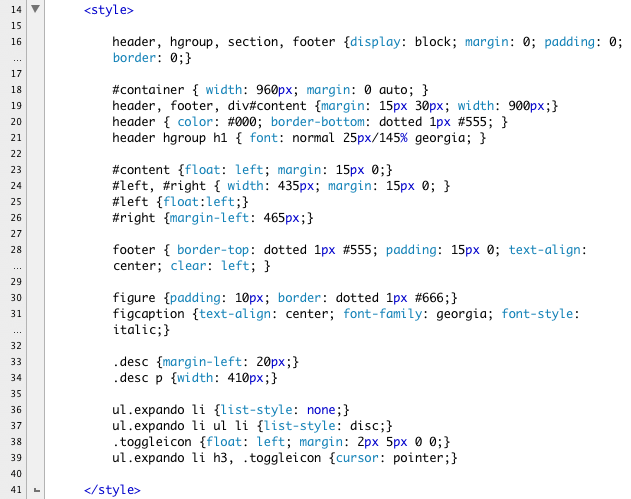
We start our additional styles with a simple CSS reset for the new HTML5 tags like this:
![]()
The container div gets a fixed width and is centered in the browser.
The header, footer and content div get margins. The header text gets a simple treatment:

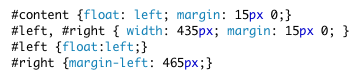
The content div contains our columns. To contain the floated elements, it is floated left. Then the left and right columns are given a width and margins. The left is floated left, and the right is given a wide left margin:
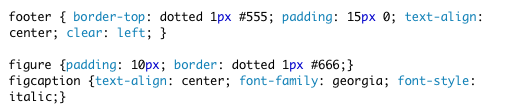
The footer gets a simple treatment, as does the figure and the figcaption tags:
The desc divs get a bit of an indent and the paragraph widths are controlled:
![]()
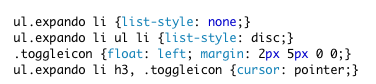
The list item children of expander have the list style removed, but nested lists do have bullets. The toggle icons and the h3's have their cursor property set to "cursor":
Here is the completed style tag:
SAVE!
The script is very straightforward. The hardest part is just juggling the toggle icons!
We begin the script by calling the jQuery ready function like this:
$();
Inside the ready function we call our anonymous function like this:
$(function(){
});
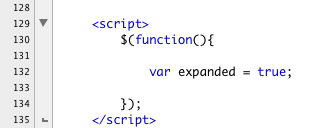
The first thing we need to track whether the nodes are expanded or not. Since we start out with all the nodes expanded, we set the variable to true:
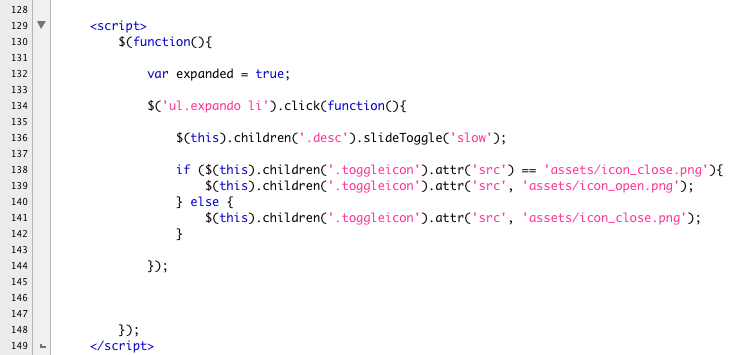
Next we gather up all the list items in in our expando unordered list. When the list item is clicked, we ask jQuery to look inside the list item and find the child node with the class of "desc". jQuery finds "desc" and uses the slideToggle() method to slide it close:
$('ul.expando li').click(function(){
$(this).children('.desc').slideToggle('slow');
});
That right there is the part that makes this whole effect work, the rest is cosmetic.
To handle the icon we check to see whether the src attribute of toggleicon is closed or the open. If it's closed, we set it to be open, if it's open we set it to be closed like this:
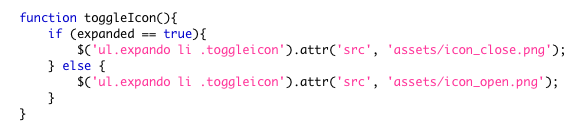
To handle expall and colall it makes sense to write a function to juggle the icon. The two links do exactly the same things, just in reverse of each other. Our function to handle the icons will be called "toggleIcon()".
toggleicon() uses our "expanded" variable to check the state of the page. It varies the icon src attribute based on what it finds like this:
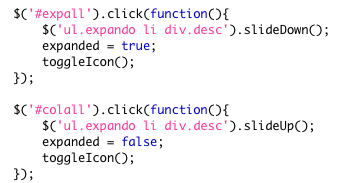
The two links expall and colall are interesting. They search through every single list item in the expando list. In turn they find the div with the class "desc" and either slide it up or down depending. They toggle the value of the expanded variable and then call toggleIcon(). Here are the two events:
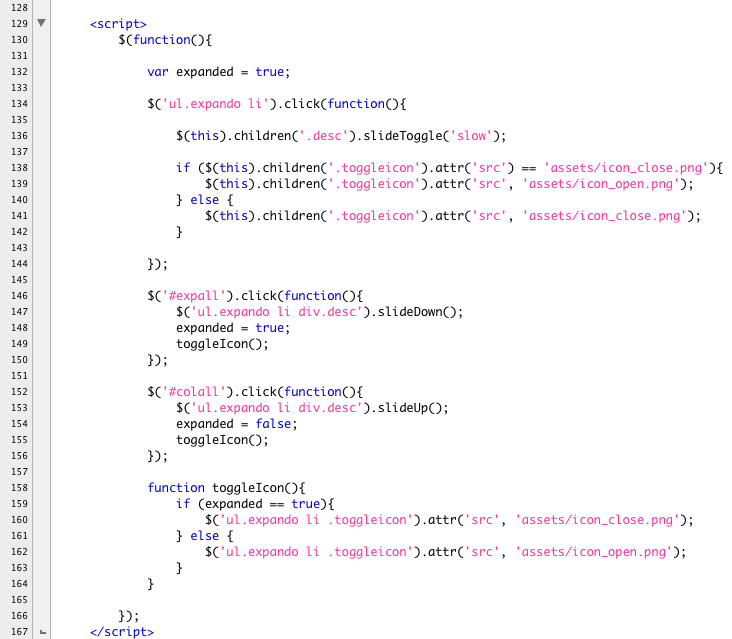
Here is the script in it's entirety:
SAVE! Check you page in a browser and make any needed corrections.