Let's return to our position.html file that we built together in Module 6. In module 6, we explored the CSS position property. We used this file to take a closer look at absolute and relative positioning. Copy position.html along with all it's assets, css and js folders. Paste the copies into a new folder named "m11_scrolling_yourlastname".
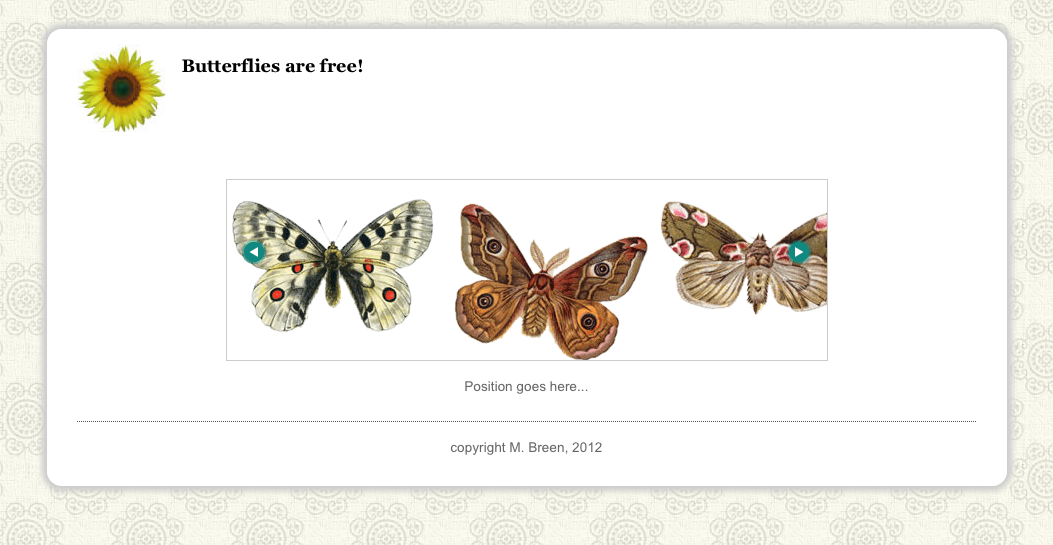
Open you file in a browser and take a close look at the code to refresh your memory. We will go through it together in a moment. Here is what the demonstration file looked like:
Let's first review the HTML.
Our page is built inside a div with the id "container". All of the interesting stuff is wrapped in a div with the id "content". Inside the content div we have a third div with the id "show". The show div wraps all our images and the two arrow buttons. The arrow buttons will be used to move our list of images to the left or right. The show div acts as a mask, hiding all images that fall outside its bounds. The show div has it's position property explicitly set to "relative".
The images are in an unordered list. The unordered list has the id of "pictures".
The list items have had their bullets stripped off and are fanned out into a horizontal line. Together they are wider than the content div. The unordered list is positioned absolutely, relative to the content div.
The two arrow buttons are also absolutely positioned. They sit on top of the unordered list and are wrapped in a tags. The left pointing a tag has the id of "prev" and the right pointing a tag has the id of "next".
To make life interesting, let's display the pixel value of the position of our unordered list of images. Underneath the show div, add a paragraph with the id of "msg", for message.
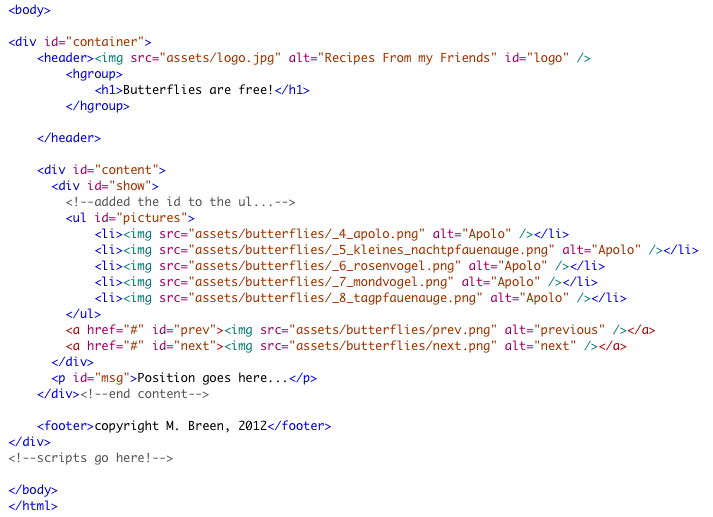
Got that? Here is the complete body tag used in the demonstration file:
The CSS takes advantage of absolute and relative positioning.
The show div is explicitly positioned relatively. It has a fixed width of 600px. The overflow property is set to "hidden". The combination of the width and the overflow forces show to behave like a mask. Anything wrapped content wider than show will be clipped.
The ul tag wrapped inside of the show div is positioned absolutely. The li tags inside of the ul tag will inherit the ul tags position and move to the left or right along with it. The entire unordered list will move as a unit.
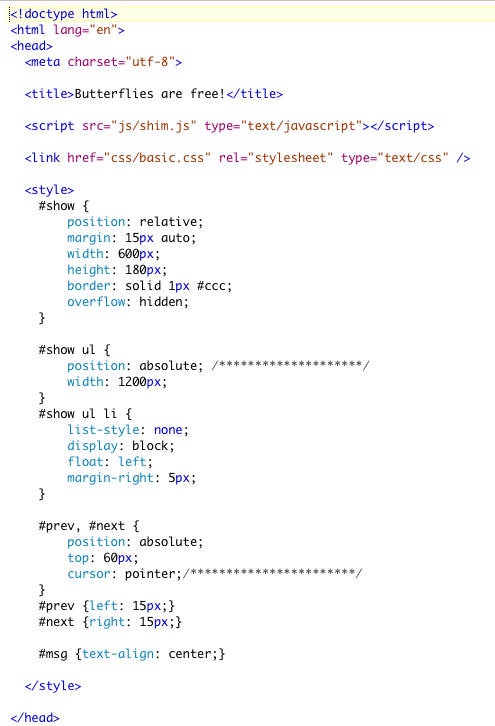
Here is the completed CSS:
SAVE! Test your page in a browser and fix anything that doesn't work right.
The Javascript
At the bottom of the HTML, just before the close of the body tag, add a script tag. The script begins with two global variables: speed to control how fast the list images move, and a variable to hold the setInterval() to make it easy to clear.
Our strategy is simple. We will use the setInterva()l method to add to or subtract from the left position of the unordered list.
![]()
Since we are going to use the setInterval() method to move the images, we will need a function to pass in. The strategy for moving the images consists of the following steps:
Here is the completed moveMe() function. Read through it carefully and then we'll break down how the code works:

Line 80 retrieves the value of the left property of pictures and stores that value in a local variable named "currentLeft," which is now a string.
Line 82 does a lot of work. It uses the substring() method of the String object. The substring() method takes a starting index and an ending index, and extracts and returns everything in the string in between. When we write:
currentLeft.substring(0, (currentLeft.length - 2))
What we are doing is starting with the very first character in currentLeft and retrieving everything except the last two characters. We have, neatly and surgically, removed the "px" at the end. What is left we can convert to a number using the Number() function. Finally, we have a number that we can safely add speed to. currentLeft is now a number. The line of code that does all this looks like this:
currentLeft = Number(currentLeft.substring(0, (currentLeft.length-2))) + speed;
In line 84, we can now pass it back to the left property of pictures's style object by adding the "px" back on.
Line 86 displays the results inside of msg.
As you can see, adding speed is always going to make currentLeft larger. We want to go in both directions. The next button should push pictures left on the page, revealing the images hidden to the right. The prev button should pull the pictures right on the page, revealing the images to the left.
To do this, we will need to change the sign of speed. Adding a positive number to a positive number results in a larger number. Adding a negative number to a positive number is the same as subtracting, and results in a smaller number. To change the sign cleanly, we will need to be able to abstract the value of speed regardless of its sign. We can do that by getting the absolute value of speed. This is easily done using the Math.abs() method of the Math object. To get the absolute value of speed, we would write:
Math.abs(speed)
Now we are ready to assign event handlers to up and down. Remember that the mouse click actually fires four different events: the mouse over, the mouse down, the mouse up, and the mouse out events. When the user presses the mouse down, pictures should move. It should stop moving on the mouse up event.
First let's do the prev button. Assign the onmousedown event to the prev button. The handler function passes a message to msg that the prev button was activated.
Next we assign speed the absolute value of itself. This insures that speed is a positive number.
Finally, call the setInterval() method and pass in the function moveMe() and assign it an interval. The demonstration uses 25 -- that is very fast indeed, and ensures a smooth movement. Here is the completed function:

Add the onmouseup event to the prev button. All it needs to do is clear myInterval:

The next button mirrors the prev button.
For the value of speed, it gets the absolute value of speed and multiplies it by -1, thus ensuring that it will always be a negative number. As a result, pictures moves in the opposite direction.
Here is the next button code:

And the onmouseup event is handled like this:

And here is the complete script:

Save your file. Open your file in a browser and play with the buttons.
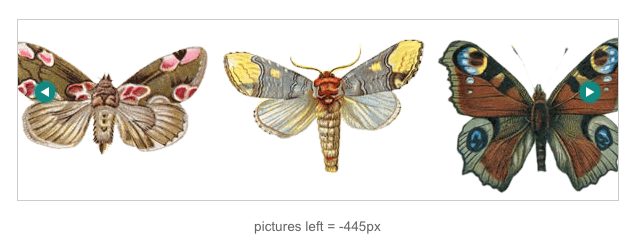
There are lots of possible uses for a script like this. You might use it for a transcript with a video or a motion graphics presentation. It might make a lovely way to set a poem. You could combine images with text in the list and use this effect to slowly reveal a complex narrative. This would make a nice menu. You could even use code like this as the basis of a game.